How to Plan Attic Insulation on a Budget: A Forensic Guide
The residential attic is arguably the most thermodynamically volatile zone in the North American building envelope. In the summer, it acts as a pressurized reservoir of radiant heat, often exceeding 150°F, while in the winter, it becomes the primary exit point for the buoyant energy of the conditioned living space. How to Plan Attic Insulation on a Budget. Despite its critical role in determining a home’s operational efficiency and structural longevity, the attic is frequently treated as a “utility-grade” space—a secondary thought until energy bills spike or ice dams begin to compromise the roofline. Effectively managing this space requires a shift from viewing insulation as a static material purchase to seeing it as a dynamic pressure and thermal boundary.
Planning an attic intervention requires a nuanced understanding of “effective R-value” versus “nominal R-value.” While many homeowners focus exclusively on the thickness of the insulation, the true performance of the attic is dictated by the continuity of the air seal. Consequently, a successful strategy must prioritize the “hygrothermal” health of the structure. This involves balancing heat retention with moisture evacuation, ensuring that the attic remains a dry, stable environment regardless of the external climate.
The economic challenge of attic upgrades is often framed as a choice between high-cost professional spray foam and low-cost DIY batts. This binary is a significant oversimplification. A sophisticated, budget-conscious plan leverages the “80/20 rule,” where 80% of the thermal benefits are achieved through 20% of the strategic actions—specifically air sealing and localized thermal bridging mitigation. By deconstructing the mechanics of heat transfer and identifying the specific failure points of existing assemblies, one can engineer a high-performance solution that rivals premium professional installations at a fraction of the capital outlay.
Understanding “how to plan attic insulation on a budget”
In the professional architectural and building forensic spheres, the mandate to learn how to plan attic insulation on a budget is regarded as an exercise in “Envelope Forensic Prioritization.” It is a multi-perspective challenge that requires the specifier to reconcile the immediate cost of materials with the long-term operational savings and the prevention of structural degradation. A common misunderstanding among observers is that a “budget” project implies a compromise in quality. In reality, a well-planned budget strategy often out-performs a poorly executed high-budget project because it focuses on the invisible drivers of heat loss—air infiltration and convective loops—rather than merely “piling up” material.
Oversimplification risks are highest when a homeowner assumes that “more is better.” Adding R-49 worth of blown-in cellulose on top of an unsealed attic floor is a classic failure mode. Because air moves through cellulose, the warm air from the home will continue to find its way to the cold roof deck, where it will condense, leading to mold and wood rot. Effectively determining how to plan attic insulation on a budget for a specific structure requires a calculation of “Thermal-Air Continuity.” This involves identifying the “Top Plate”—the wood beam at the top of the walls—and sealing every wire and pipe penetration before a single square foot of insulation is laid down.
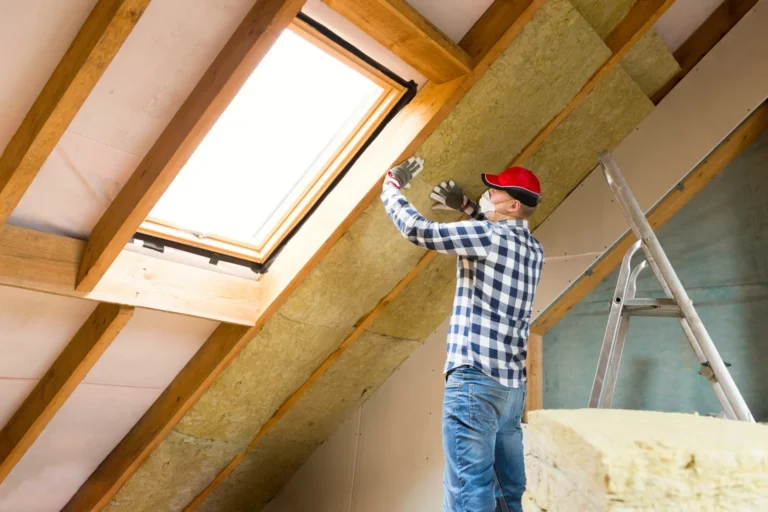
Furthermore, a sophisticated approach must address the “Geometric Vulnerability” of the attic. The “eaves”—where the roof meets the walls—are often the most neglected area. Without proper baffles to maintain airflow from the soffit vents, new insulation can block ventilation, leading to catastrophic roof overheating in the summer and moisture buildup in the winter. A budget plan that ignores these geometric constraints is not a savings; it is a deferred liability.
Systemic Evolution: From Breathable Voids to Conditioned Assemblies
The history of the American attic has transitioned through three distinct “Ages of Ventilation.” The First Age (Pre-1940s) was the Age of the Breathable Void. Homes were uninsulated, and attics were intentionally drafty. This “energy-wasteful” design was structurally brilliant; the high volume of escaping heat ensured that the roof deck stayed warm and dry, preventing ice dams and rot.
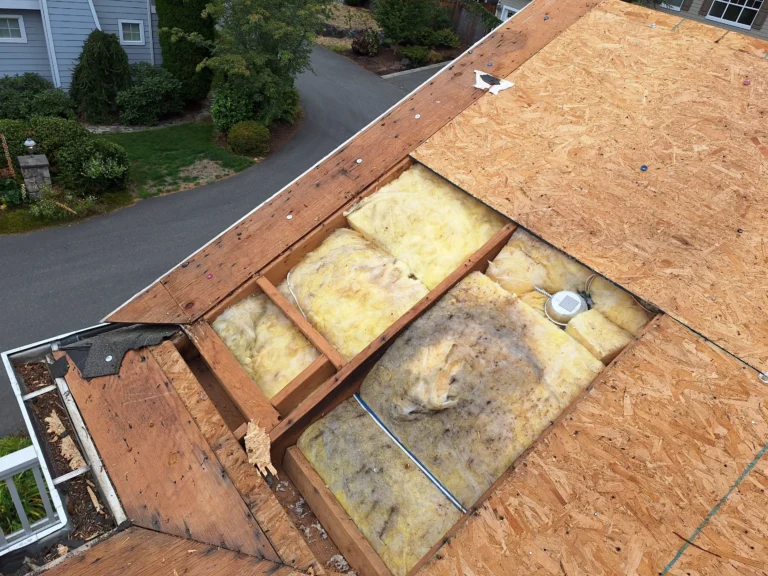
The Second Age (1950–1990) introduced the “Bulk Fill” mentality. As energy prices rose, fiberglass batts were introduced. However, this era lacked a sophisticated understanding of air sealing. Insulated attics became sites of “interstitial condensation,” where trapped moisture led to the infamous “musty attic” smell.
We are currently in the Third Age: The Age of the “Airtight, Vented Enclosure.” This era is defined by the recognition that the ceiling of the home is the primary pressure boundary. Modern budget strategies now leverage “Smart” membranes and high-density blown-in materials that provide both R-value and air-resistance. We have moved from a model of “slowing down heat” to a model of “containing the air vessel.”
Conceptual Frameworks and Mental Models of Attic Dynamics
To evaluate attic systems with editorial and technical rigor, professionals utilize specific mental models:
-
The “Chimney Effect” Logic: This recognizes that a house behaves like a vacuum. Warm air rises and escapes through the attic (exfiltration), which pulls cold air in through the basement (infiltration). Sealing the attic “lid” is the most effective way to kill the chimney effect.
-
The “Thermal Bridge” Framework: This posits that the wood joists in an attic act as thermal highways. Even if you insulate the spaces between the joists, the wood itself remains a leak. A budget plan must address “Joist Over-topping” to break these bridges.
-
The “Hygrothermal Buffer” Model: This treats the attic as a moisture-balancing tank. The goal is to ensure that the “drying potential” of the attic (through ventilation) always exceeds the “wetting rate” (through air leaks from the home).
-
The “Diminishing Returns” Curve: This calculates the point where adding more R-value no longer justifies the cost. Moving from R-11 to R-38 offers massive savings; moving from R-49 to R-60 offers marginal gains that may never pay for themselves.
Key Categories of Budget-Friendly Insulants
When practitioners analyze the material landscape, the focus is on “Cost-Per-R-Value” and ease of installation.
Comparative Taxonomy of Attic Materials
| Material | R-Value per Inch | Air Sealing Properties | Best Budget Use Case | Trade-off |
| Blown-In Cellulose | 3.2 – 3.8 | Moderate (Dense) | Leveling uneven floors | Dusty; requires machine rental |
| Blown-In Fiberglass | 2.2 – 2.7 | Poor | Over-topping existing batts | Low density; prone to air-wash |
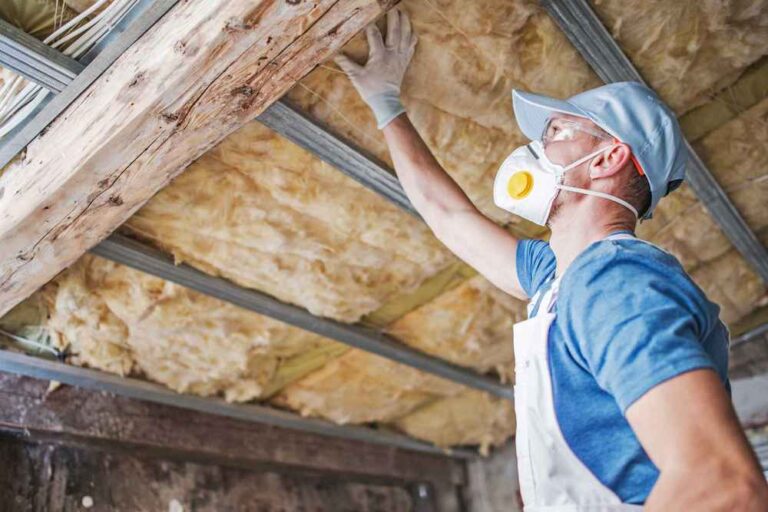
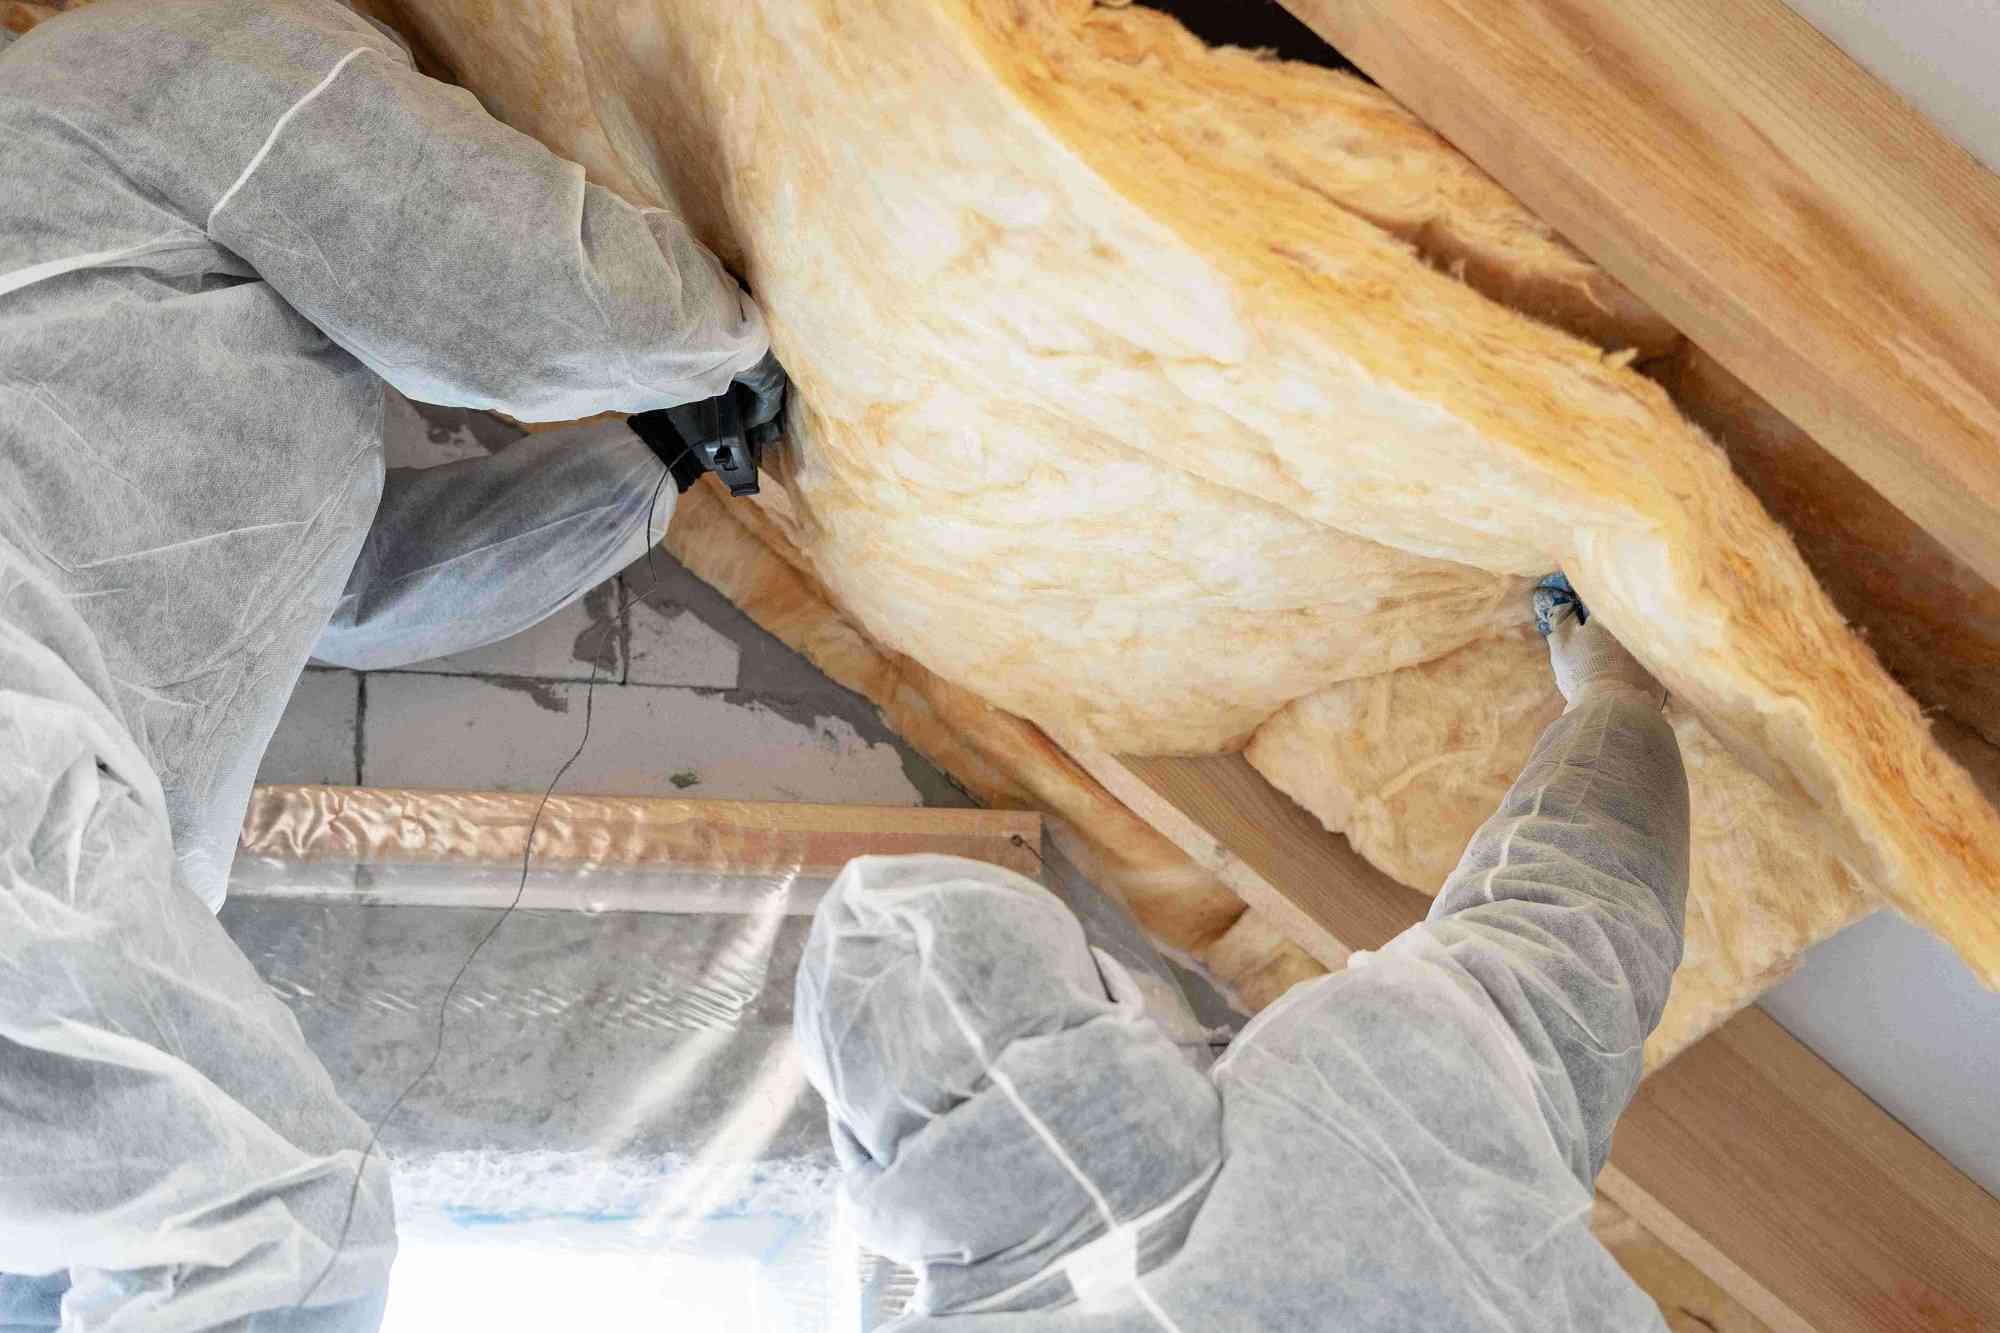
| Fiberglass Batts | 2.9 – 3.5 | Zero | Clean, accessible joists | Hard to fit around obstructions |
| Mineral Wool Batts | 3.0 – 4.0 | Moderate | Fire-prone or noisy areas | Higher material cost |
| Rigid Foam (XPS/EPS) | 3.8 – 5.0 | Exceptional | Attic hatches and knee-walls | Requires precision cutting |
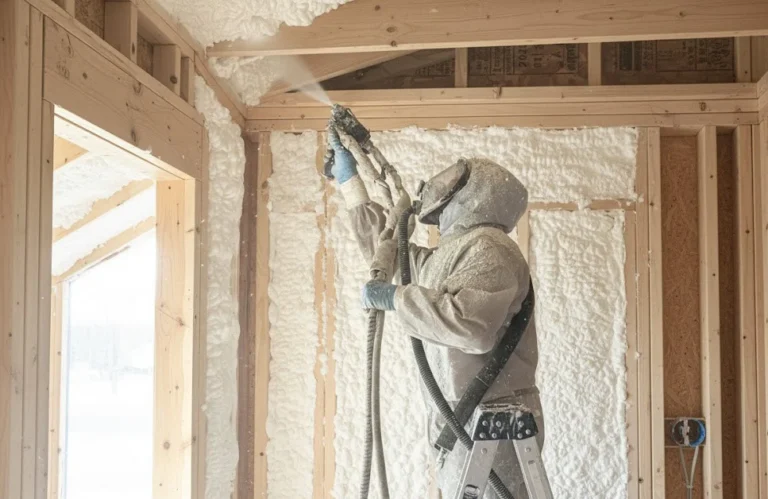
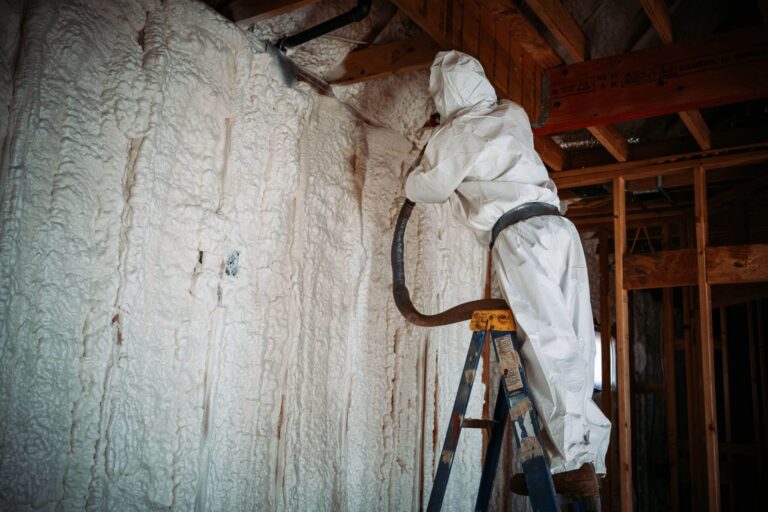
| Two-Part Spray Foam | 6.0 – 7.0 | Total | Rim joists and small gaps | Extremely high cost; chemical |
Realistic Decision Logic
The decision to utilize a specific material is often a function of “Existing Substrate.” If the attic has old, flattened fiberglass batts, the most budget-effective move is to Air Seal the floor and then Over-top with 10–12 inches of blown-in cellulose. Cellulose is superior for budget projects because it fills the gaps that batts miss and has a higher “airflow resistance,” which helps compensate for any minor air-sealing imperfections.
Detailed Real-World Scenarios and Decision Logic How to Plan Attic Insulation on a Budget
The 1970s Ranch with “Builder Grade” Insulation
-
The Challenge: Thin layer of fiberglass (R-19) and high energy bills in a windy climate.
-
The Strategy: Pull back batts along the top plates, seal with canned foam, install baffles at the eaves, and blow in 10 inches of cellulose.
-
The Logic: The existing batts have some value, but they are leaking air. Sealing the perimeter first ensures the new cellulose doesn’t get “blown around” by wind entering the soffits.
The Cape Cod with “Knee-Walls”
-
The Challenge: The upstairs bedrooms are sweltering in summer and freezing in winter due to the small “triangle” attics behind the walls.
-
The Strategy: Use rigid foam boards to seal the back of the knee-walls and block the “floor joist bays” underneath the walls.
-
The Logic: Knee-walls are notorious for “Thermal Bypass.” Air gets under the floor of the bedroom and sucks the heat out. Blocking the joist bays is a $50 fix that solves a $500 comfort problem.
The “Access-Limited” Attic (Low Pitch)
-
The Challenge: Scanty space makes it impossible to crawl to the edges to air seal.
-
The Strategy: Rent a high-powered blower and use a “long-pole” attachment to distribute dense-pack cellulose into the corners.
-
The Logic: While not as perfect as manual sealing, dense-packing the edges with cellulose creates a “mechanical seal” that significantly slows down air movement where humans can’t reach.
Planning, Cost Architecture, and Resource Dynamics
The economic profile of a budget attic plan is defined by the “Labor-to-Material Ratio.” Professional spray foam is 80% labor/overhead and 20% material. A DIY blown-in project is 30% material and 70% “sweat equity.”
Range-Based Resource Allocation (Per 1,000 Sq. Ft.)
| Component | Essential (Safety/Prep) | Standard (Blown-In) | Forensic (Air Seal + Over-top) |
| Sealants (Foam/Caulk) | $50 | $150 | $350 (Includes Fire-Rated) |
| Insulation Material | $400 | $800 | $1,200 (Cellulose) |
| Ventilation (Baffles) | $100 | $200 | $300 (Rigid PVC) |
| Machine Rental | $100 | $100 | $100 (Often free with bulk buy) |
| Safety Gear (PPE) | $50 | $100 | $150 (HEPA Masks/Coveralls) |
| Total (Est.) | $700 | $1,350 | $2,100 |
The Opportunity Cost: The “Hidden Payback” is the prevention of roof replacement. An improperly insulated attic causes “Snow Melt” on the roof deck, which turns into ice dams. A $2,000 insulation project can easily save a $15,000 roof replacement.
Tools, Strategies, and Support Systems
Executing a high-performance budget vision requires a shift from “Bulk Buying” to “Diagnostic Precision”:
-
The “Canned Foam” Arsenal: Using professional-grade foam guns (rather than the one-time-use straws) allows for precision and reduces waste.
-
Baffles (Wind Blockers): Essential for ensuring that the insulation doesn’t block the air intake from the soffits.
-
Attic Hatch “Cozy”: A DIY rigid foam box built over the attic stairs or hatch, which is often the biggest single heat leak in the house.
-
Recessed Light Covers: Fire-rated “tents” that allow you to bury LED-rated recessed lights in insulation safely.
-
Thermal Imaging (Rental): A quick scan on a cold day will show exactly where the air leaks are, allowing for surgical air sealing.
-
Plywood Walkways: Temporary planks to ensure you don’t step through the drywall ceiling while working.
-
Marking Sticks: Yardsticks stapled to joists to ensure the blown-in depth is consistent across the entire attic.
Risk Landscape and Failure Modes
The “Budget” path is fraught with “Compounding Risks” if the order of operations is ignored.
-
“The Moisture Trap”: Adding insulation without air sealing. This makes the attic colder, which causes moisture from the house to condense faster on the roof, leading to “attic rain.”
-
“The Ventilation Blockage”: Pushing insulation into the eaves and covering the soffit vents. This causes the roof shingles to “cook” from the inside out, cutting their lifespan in half.
-
“The Electrical Fire”: Covering old “Knob and Tube” wiring or non-IC rated recessed lights with insulation. These require an air gap or specialized covers to prevent heat buildup.
Governance, Maintenance, and Long-Term Adaptation
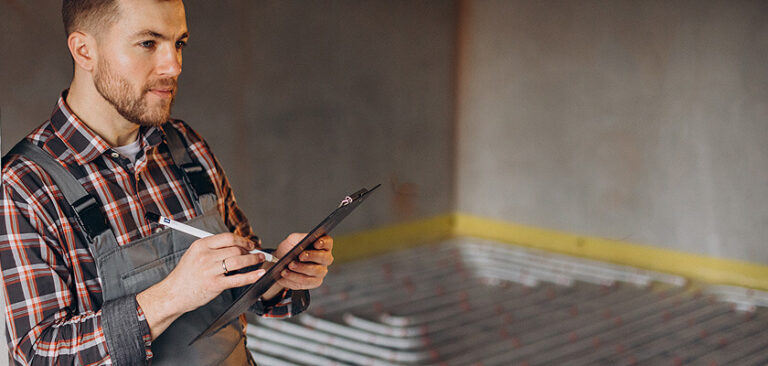
An attic is a “Settling Environment.” Even the best plan requires an “Annual Audit.”
-
The “Settling Review”: Blown-in cellulose will settle by 10–20% in the first two years. A budget plan should include a “re-fill” buffer in the energy model.
-
The “Roof Leak Monitor”: Insulation can hide small roof leaks until the wood is rotted. An annual visual inspection for “dark spots” on the surface of the insulation is mandatory.
-
Governance Checklist:
-
[ ] Check the attic hatch weatherstripping for “compression set.”
-
[ ] Ensure the baffles haven’t shifted due to wind.
-
[ ] Verify that the bathroom exhaust fan is still venting outside and hasn’t disconnected into the attic.
-
[ ] Look for “mouse tunnels” which can destroy the R-value of fiberglass.
-
Measurement, Tracking, and Evaluation
-
Leading Indicators: The “Delta-T” between the attic floor and the roof deck. On a cold day, a well-insulated attic floor should be nearly the same temperature as the house, while the air above it should be nearly the same as the outside.
-
Lagging Indicators: Energy bills normalized for “Heating Degree Days.”
-
Qualitative Signals: The “Ice Dam Test.” If your neighbor has 2-foot icicles and your roof is clean, your thermal boundary is working.
-
Documentation Example: A “Photo Map” of all the sealed penetrations taken before the insulation was blown in. This is critical for home resale value.
Common Misconceptions and Oversimplifications
-
Myth: “Fiberglass batts are the easiest DIY.” Correction: They are the hardest to get “perfect.” Gaps as small as 1/4 inch around a batt can reduce its effective R-value by 25%.
-
Myth: “My attic is vented, so it doesn’t need to be airtight.” Correction: The ceiling needs to be airtight. The attic needs to be vented. Confusing the two leads to massive energy loss.
-
Myth: “You can’t over-insulate.” Correction: You can. After a certain point, the cost of the material will never be recovered by the energy savings.
-
Myth: “Vapor barriers should be on top of the insulation.” Correction: In cold climates, the vapor retarder (if used) must be on the “warm-in-winter” side (against the ceiling). Putting it on top traps moisture in the insulation.
-
Myth: “Blown-in insulation is permanent.” Correction: It settles and can be displaced by wind or animals. It is a 20-year product, not a 100-year one.
-
Myth: “Spray foam is the only ‘real’ soundproofing.” Correction: Dense-pack cellulose actually has a higher NRC (Noise Reduction Coefficient) for blocking outside noise like rain or planes.
Ethical, Practical, or Contextual Considerations
The endeavor to understand how to plan attic insulation on a budget is ultimately a pursuit of “Grid Independence.” By reducing the peak load of the individual home, we reduce the stress on the regional energy infrastructure during extreme weather events. This is “Passive Resilience.” Furthermore, for those on a fixed income, attic insulation is one of the few home improvements that offers a guaranteed, non-taxable return on investment. It is an act of economic preservation.
Synthesis: The Future of Residential Thermal Stability
The trajectory of the home performance industry is moving toward “Automated Enclosures.” We are seeing the rise of “Aero-Sealing” technologies that can seal an entire attic floor with a mist of adhesive. However, the core of the budget experience remains forensic and manual. It is the rejection of “Bulk Buying” in favor of “Air Discipline.”
To successfully manage an attic on a budget is to embrace the “Law of the Lid.” It is a recognition that the most powerful tool in your arsenal is not a blower machine, but a $5 can of foam and a keen eye for the invisible gaps. By prioritizing “Airtightness” and “Perimeter Integrity,” how to plan attic insulation on a budget, the homeowner ensures that the residence remains a stable, filtered, and resilient sanctuary for the life of the asset.