How to Plan a Basement Insulation Project on a Budget: A Professional Guide
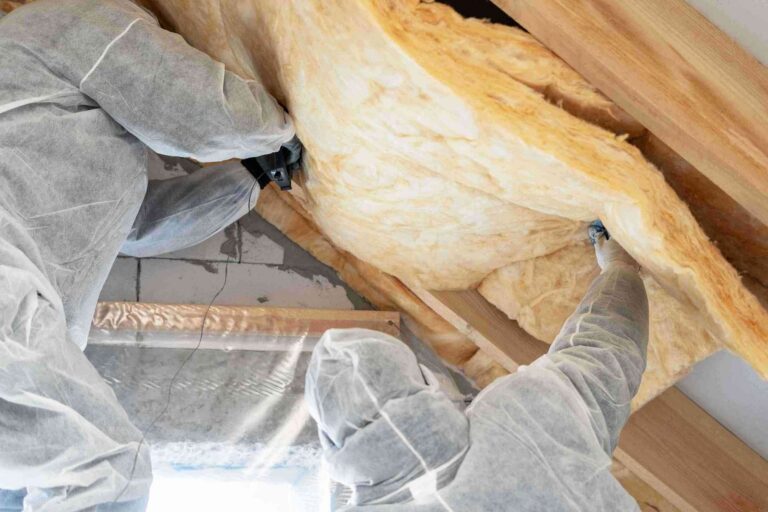
The basement is the most thermodynamically complex region of the North American residential structure. Unlike the attic, which interacts primarily with the atmosphere, or the walls, which balance air and solar radiation, the basement exists at the interface of three distinct environments: the conditioned interior air, the ambient exterior air, and the constant, damp temperature of the earth. How to Plan a Basement Insulation Project on a Budget. In many older homes, the basement was never intended to be a conditioned living space; it was a utility void designed to house mechanicals and provide a “capillary break” between the wet soil and the wooden structure above.
When homeowners attempt to transition this space into a habitable area, they often confront a harsh reality: traditional insulation methods that work in a dry, above-grade wall can be catastrophic in a basement. The subterranean environment is a high-risk zone for moisture migration. Concrete, while appearing solid, is actually a porous sponge that “wicks” water from the soil through capillary action and vapor pressure. If a thermal barrier is installed without a sophisticated understanding of these moisture dynamics, the result is not an energy-efficient room, but a concealed breeding ground for fungal growth and structural decay.
Successfully navigating these risks while maintaining fiscal discipline requires a shift from “commodity buying” to “strategic engineering.” Budget constraints are often seen as a limitation, but in building science, they can serve as a forcing function for simplicity and robustness. A high-performance basement does not require the most expensive spray-applied chemicals; it requires a disciplined application of moisture management principles and a targeted use of high-density materials. This exploration provides the technical and editorial framework for executing a resilient thermal boundary without the inflated costs of over-engineered commercial systems.
Understanding “how to plan a basement insulation project on a budget”
To master how to plan a basement insulation project on a budget, one must first decouple the “cost of material” from the “risk of failure.” In the residential market, the cheapest material—fiberglass batts—is often the most expensive to remediate. When placed against a cold, damp concrete wall, fiberglass acts as a moisture trap, leading to mold colonies that necessitate a total gut-renovation within five to seven years. Therefore, a “budget” plan is defined by its ability to prevent the need for future replacement.
A sophisticated approach involves the “tiered insulation” model. Instead of applying a uniform thickness of expensive closed-cell foam, a budget-conscious strategy utilizes a thin layer of moisture-resistant rigid foam (XPS or EPS) as a “vapor retarder” and “thermal break,” followed by a secondary, less expensive layer of mineral wool or fire-rated foam for bulk R-value. This hybrid method achieves the same thermal performance as a high-end spray foam application at roughly 40% of the cost.
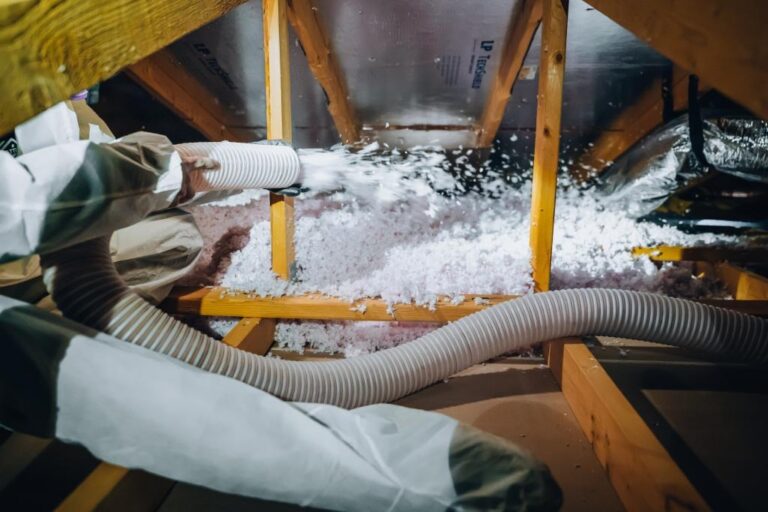
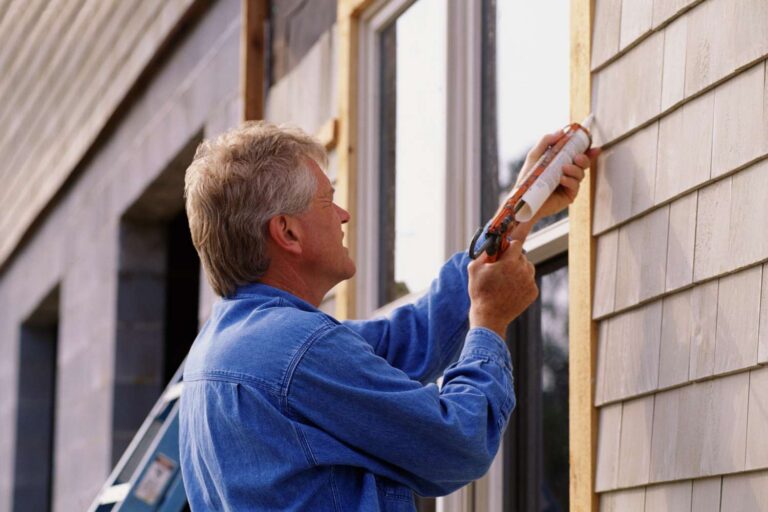
Oversimplification in basement planning often ignores the “rim joist”—the area where the house’s wooden frame meets the concrete foundation. This is the single largest site of air infiltration in most homes. A plan that focuses solely on the walls while ignoring the rim joists is fundamentally flawed. Strategic allocation of resources means spending a disproportionate amount of the budget on high-quality sealants at the top of the foundation and utilizing more economical strategies for the vertical wall surfaces.
Deep Contextual Background: The Evolution of the Foundation
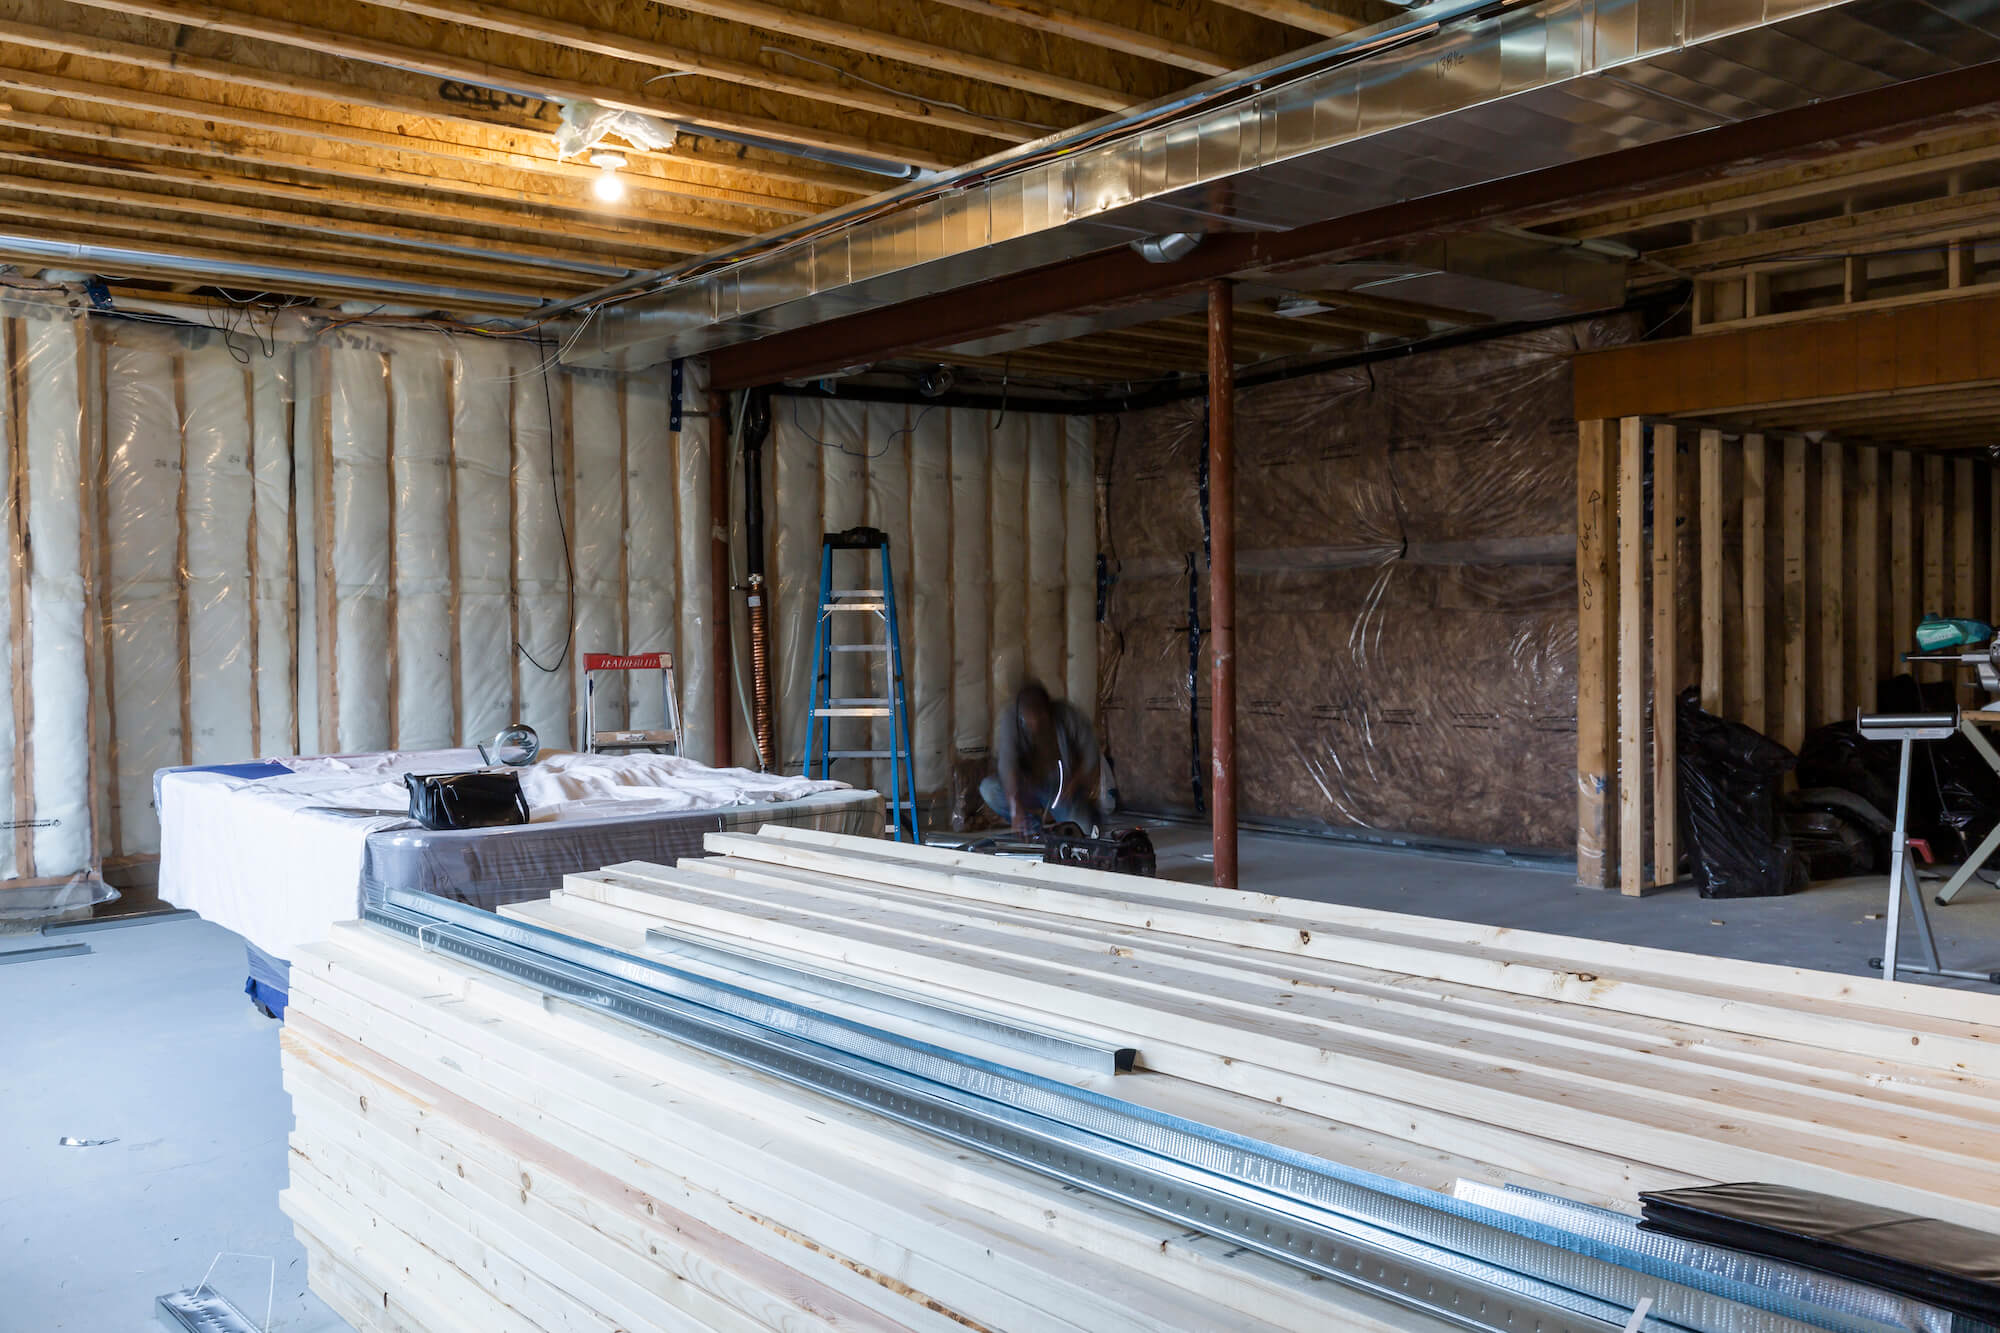
Historically, foundations were built with fieldstone and lime mortar, designed to “leak” water and air. The basement was a cold, damp storage area for root vegetables and coal. Moisture entered through the stones and evaporated into the space, where it was eventually exhausted by the natural draft of the furnace chimney. As we moved toward poured concrete and cinder blocks in the mid-20th century, foundations became more airtight, but the moisture issues remained.
The energy crises of the 1970s led to the first widespread attempts to insulate these spaces, typically using fiberglass batts stapled to wood studs. This era created a legacy of “musty basements” across the United States. It wasn’t until the early 2000s that building science fully articulated the “inward vapor drive”—the phenomenon where solar heat pushes moisture through the concrete toward the interior of the home. Today, the modern standard is to insulate on the exterior of the foundation or use a non-permeable interior barrier. For budget-conscious retrofits where exterior digging is impossible, the interior rigid-foam-to-stud-wall assembly has become the technical gold standard.
Conceptual Frameworks and Mental Models
The Capillary Break Framework
Think of a concrete wall as a giant candle wick sitting in wet soil. Water moves upward and inward through the pores of the concrete. Any insulation plan must provide a “break”—a layer that water cannot cross—between the wet concrete and any organic material like wood or drywall.
The Dew Point Transition Model
This model identifies the specific point within the wall thickness where warm, moist indoor air will turn into liquid water. The goal of a budget project is to ensure this transition happens inside the moisture-resistant foam layer, rather than against the wooden studs or the fiberglass fibers.
The “Stack Effect” Pressure Gradient
Basements are the “intake” of the house’s chimney. Negative pressure in the lower levels sucks in cold air (and soil gases like radon). A successful project must treat air sealing as being just as important as R-value, focusing on the “mud sill” and “rim joist” where the air infiltration is highest.
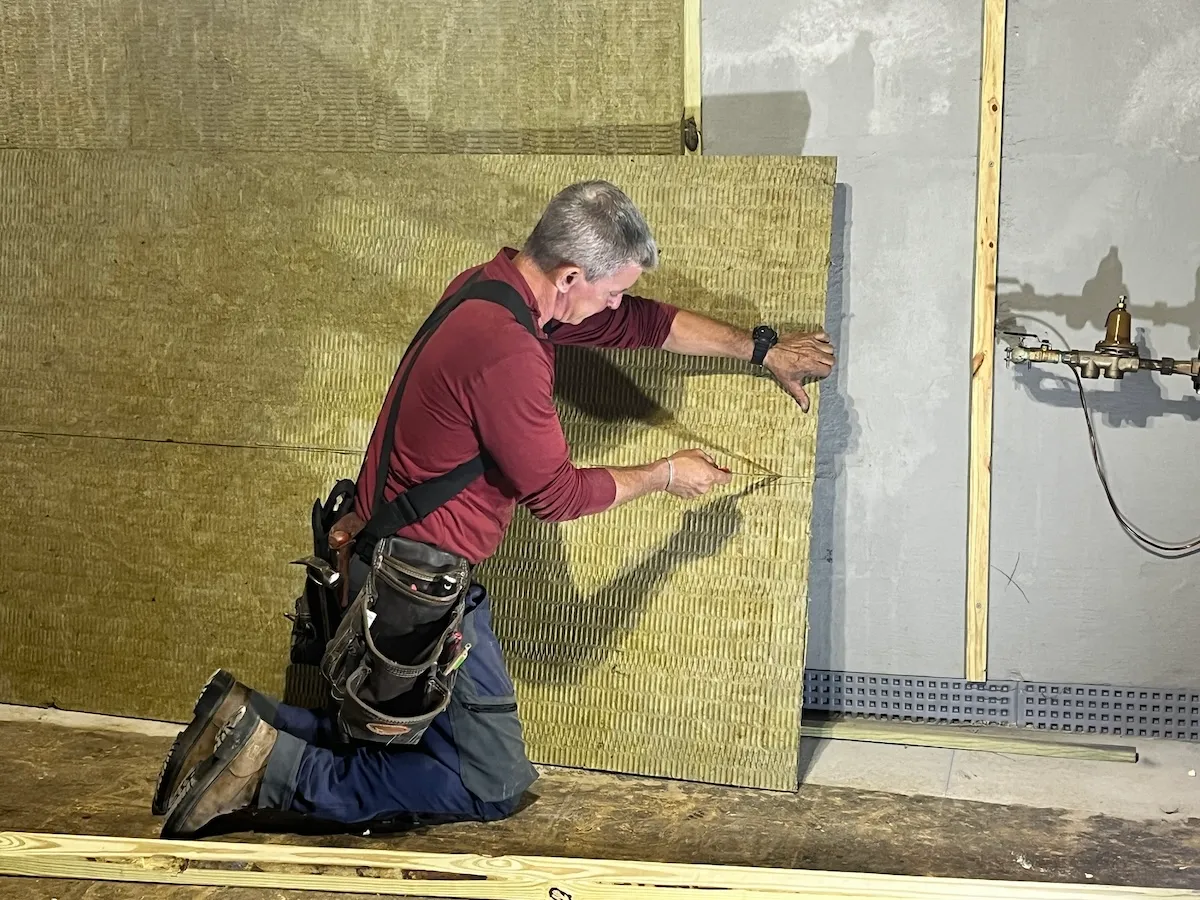
Key Categories of Budget-Friendly Materials
Selecting materials for a basement requires an audit of their “hygroscopic” properties—how they behave in the presence of water.
| Material | R-Value/Inch | Moisture Resistance | Budget Impact |
| Expanded Polystyrene (EPS) | 3.6 – 4.0 | High | Lowest Cost Rigid Foam |
| Extruded Polystyrene (XPS) | 5.0 | Very High | Mid-Range; Industry Standard |
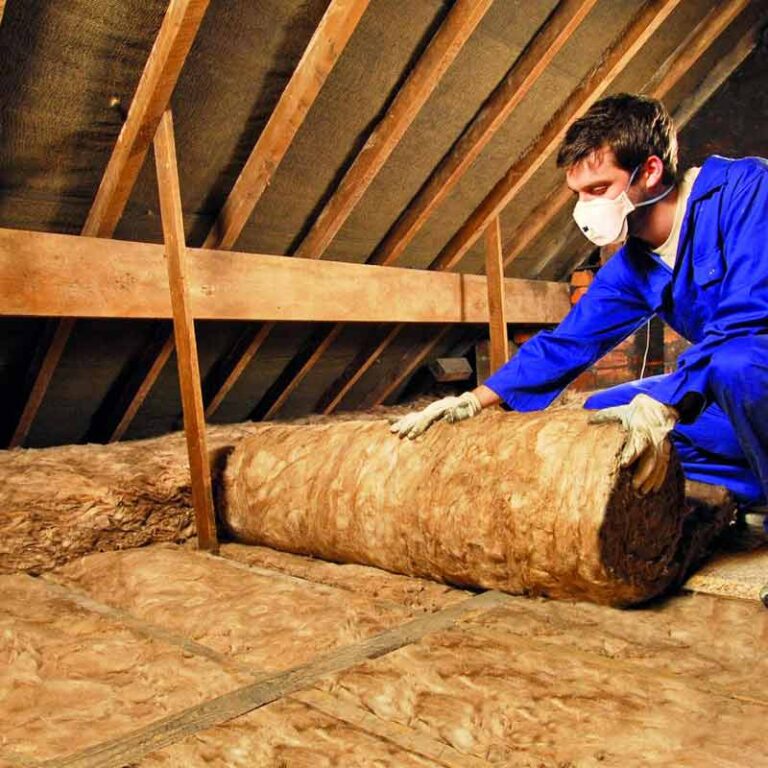
| Mineral Wool Batts | 4.0 – 4.2 | High (Hydrophobic) | Mid-Range; Fire/Mold Proof |
| Polyisocyanurate | 6.0 – 6.5 | Moderate | High; Best R-value per inch |
| Foil-Faced Bubble Wrap | 1.0 (Real) | High | Low Cost; No Thermal Value |
Decision Logic: EPS vs. XPS
For those looking at how to plan a basement insulation project on a budget, EPS (the white “beaded” foam) is often the superior choice. While it has a slightly lower R-value per inch than the blue or pink XPS foam, it is significantly cheaper and more “breathable,” which can actually be a benefit in assemblies that need to dry toward the interior.
Detailed Real-World Scenarios How to Plan a Basement Insulation Project on a Budget
Scenario A: The Poured Concrete Modern Basement
-
Constraint: Tight budget, 8-foot ceilings, dry walls.
-
Decision Point: Rigid foam boards vs. stud walls.
-
Solution: 2-inch EPS foam boards glued directly to the concrete, seams taped. A 2×4 stud wall is built in front, but left uninsulated. This provides an R-8 thermal break and a safe cavity for electrical wiring without the risk of mold.
Scenario B: The Cinder Block “Damp” Basement
-
Constraint: Occasional efflorescence (white salt deposits) on the walls.
-
Risk: Moisture trapped behind foam could cause the block to freeze and crack in winter.
-
Solution: Using a dimpled drainage mat against the wall first, followed by rigid foam. This allows water to trickle down to a perimeter drain while the foam keeps the living space warm.
Planning, Cost, and Resource Dynamics
A basement project must account for the “prep” work, which is often more expensive than the insulation itself.
| Expense Category | Range (USD/sq ft) | Factors affecting variability |
| Wall Cleaning/Prep | $0.20 – $0.50 | Removal of old paint or efflorescence. |
| Rigid Foam (2-inch) | $0.80 – $1.30 | EPS vs. XPS pricing. |
| Sealants and Tapes | $0.15 – $0.30 | High-performance acrylic tapes. |
| Rim Joist Sealing | $1.50 – $3.00 | Labor intensive; often uses spray kits. |
The Opportunity Cost of Material Choice:
Using 1-inch foam ($0.50/sq ft) instead of 2-inch foam ($1.00/sq ft) saves money upfront but may fail to move the dew point out of the wood framing. The $500 saved today could lead to $5,000 in mold remediation in the future.
Tools, Strategies, and Support Systems
-
Low-Expansion Adhesive: Specialized foam-to-concrete glues that won’t melt the boards.
-
Acrylic Seam Tapes: Standard duct tape will fail in the damp basement environment; high-performance tapes like Siga or Tescon are required for a 50-year air seal.
-
Mechanical Fasteners: Plastic “cap nails” or masonry screws with washers are used to hold foam boards if the adhesive fails over time.
-
T-Square and Snap-Off Knives: Crucial for clean cuts that ensure tight “friction fits” between boards.
-
Damp-Proofing Paints: While not a substitute for insulation, these are often the first step in a budget plan to reduce vapor drive.
-
Dehumidification Support: A whole-home dehumidifier is a necessary “partner” to any basement insulation system to manage interior-generated moisture.
Risk Landscape and Failure Modes
The primary risk in basement insulation is “Advective Moisture.” This is moisture carried by air moving through gaps. If you insulate the wall but leave a gap at the top, warm air from the house will get behind the foam, hit the cold concrete, and rain down inside your wall.
Compounding Risks:
-
Radon Accumulation: Sealing a basement for energy efficiency can inadvertently trap radon gas. Any basement project should include a pre- and post-project radon test.
-
Sump Pump Failure: If your basement relies on a pump, your insulation is at risk every time there is a power outage. A battery backup is a required “insurance policy” for the insulation.
Governance, Maintenance, and Long-Term Adaptation
A basement project requires “governance”—periodic checks to ensure the system is still dry.
-
The Sniff Test: Every six months, check for “musty” odors. This is the first leading indicator of a failure in the vapor barrier.
-
RH Monitoring: Keep a hygrometer in the basement. If the relative humidity stays above 60% for more than 48 hours, the insulation is at risk of surface mold.
-
Baseboard Inspection: Periodically check the bottom of the drywall or baseboards for “wicking” moisture or staining, which indicates water is getting past the foam.
Common Misconceptions and Oversimplifications
-
“Concrete is a vapor barrier.” It is not. It is a filter that moves water through vapor pressure.
-
“Fiberglass is okay if I use a plastic vapor barrier.” This is the “poly sandwich” and is a recipe for rot. Moisture gets trapped between the concrete and the plastic, with no way to dry.
-
“Spray foam is too expensive for a budget.” While whole-wall spray foam is expensive, “froth packs” for the rim joists are the most cost-effective way to stop drafts.
-
“Insulating the floor is optional.” Cold floors contribute significantly to the “musty” feel of a basement. Even 1/2-inch of rigid foam under a subfloor makes a massive difference in comfort.
Ethical and Practical Considerations
From a practical standpoint, the use of petroleum-based foams (XPS/EPS) presents an environmental trade-off. They have a high embodied energy and are difficult to recycle. However, in a basement, they are often the only materials capable of surviving the moisture load. For those seeking an “ethical” budget alternative, mineral wool boards provide a similar thermal profile without the blowing agents, though they are more difficult to install against uneven foundation walls.
Conclusion
Successfully executing a plan on how to plan a basement insulation project on a budget is an exercise in building science discipline. It requires the builder to respect the invisible forces of vapor drive and air pressure. By prioritizing a continuous thermal break and air seal—specifically at the rim joist and the foam-to-concrete interface—one can create a space that is not only warm and energy-efficient but also structurally resilient. The basement is the foundation of the home’s health; treating its thermal boundary with technical rigor ensures that the house remains a safe, dry, and solvent asset for decades to come.